In today’s digital age, deriving the maximum advantage from collaborative tools like Slack involves delving beyond the basics. A key aspect of this is using Webhooks, which allow third-party extensions to send live updates. In this beginner-friendly tutorial, we will explore how to create a Slack webhook URL, starting from the very basics. Whether you’re new to Slack or in need of a quick refresher, this guide is for you.
Table of contents
· What is a Webhook?
· Create Slack Webhook URLs for Your Workspace
∘ Step 1: Create a slack channel
∘ Step 2: Create Slack developer App and link it to your workspace
∘ Step 3: Create a webhook and link it to your slack channel
· Test your Webhook URL
· Conclusion
What is a Webhook?
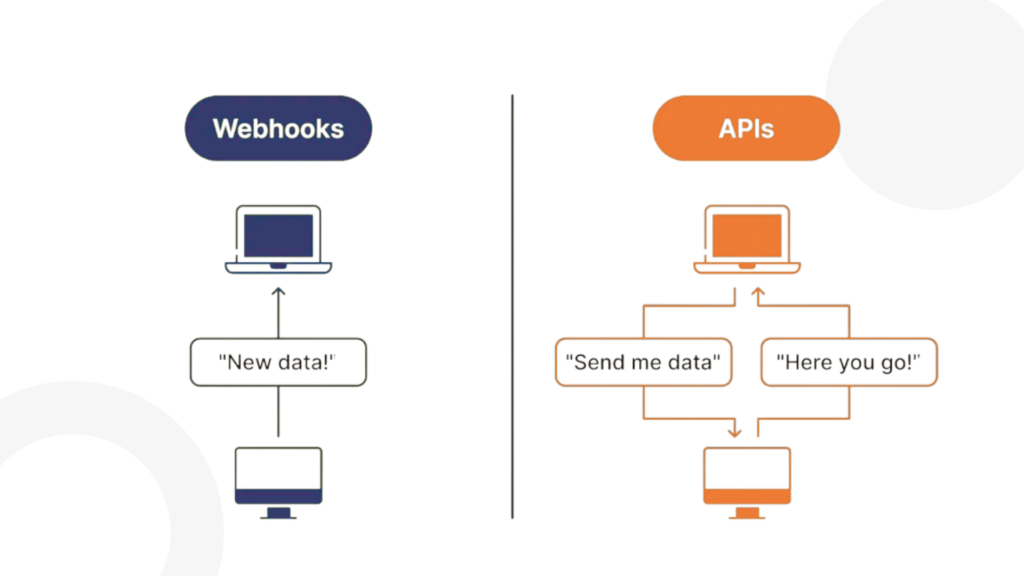
A webhook is a method used to provide other applications with real-time information. Think of it as an automated messenger. In the context of Slack, a webhook allows external applications to send automatic notifications to your Slack channels.
For example, imagine you have a project management tool. Every time a task gets completed, a webhook could send an update to your team’s Slack channel, sharing this news. It effectively streamlines and automates the communication process.
Create Slack Webhook URLs for Your Workspace
Step 1: Create a slack channel
It is advisable to create a dedicated Slack channel to receive messages through this webhook. Follow the below link to get one.
Create a channel
Channels are the best way to keep conversations about various projects, topics or teams organised in Slack. There’s no…
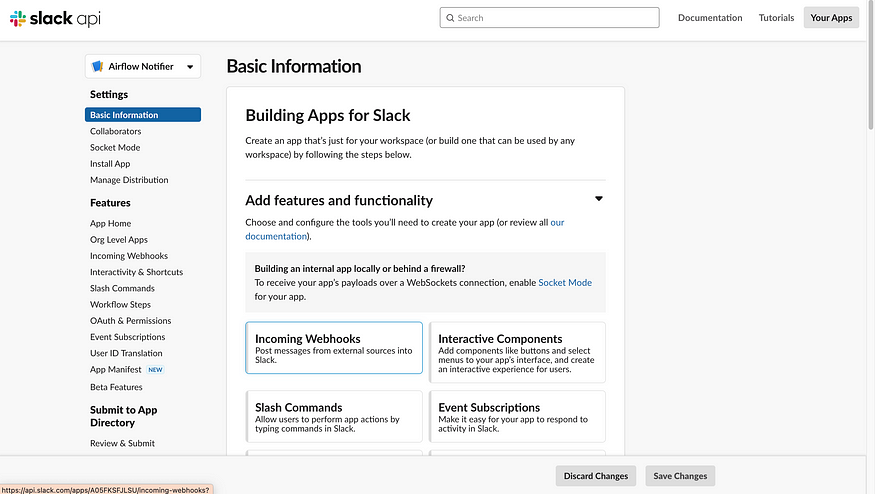
Step 2: Create Slack developer App and link it to your workspace
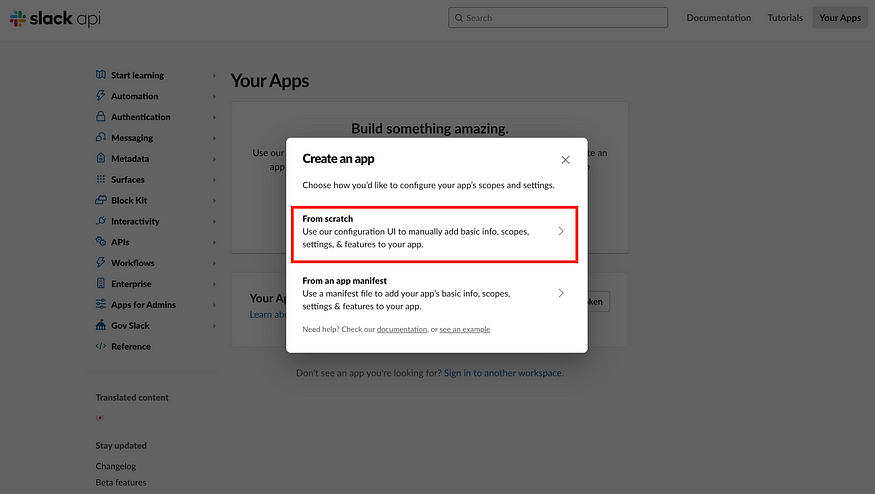
- Go to https://api.slack.com/apps and login
- Click on Create New App and follow the steps as shown in the below screenshots.

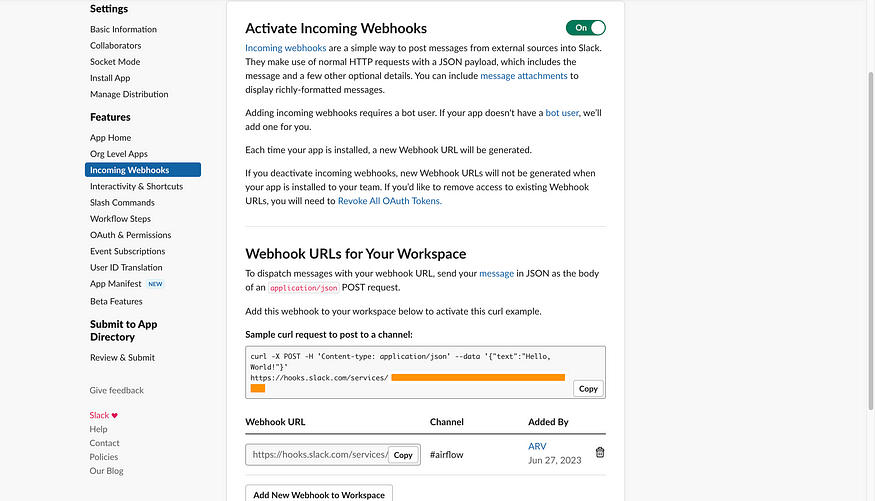
Step 3: Create a webhook and link it to your slack channel
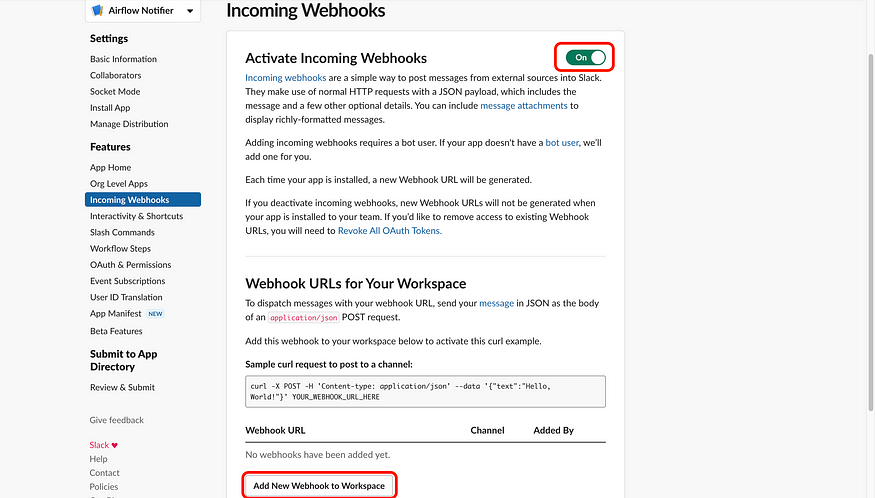
A new page will open asking, Where should Airflow Notifier post? Select the previously created channel and click on [Allow].